
You have a generator , and you want to guarantee its durability and proper functioning . The equipment can be gasoline or diesel engined . In any case, maintaining your generator regularly is imperative. This is how it will be able to produce electricity efficiently. In this article, you will discover the essential steps to properly maintain your emergency generator . This article is intended for both novices and experienced users. Discover the common maintenance steps for gasoline and diesel generators!
These steps boil down to following a maintenance schedule, checking the oil level and regular oil changes , then preventive maintenance of the air filter .
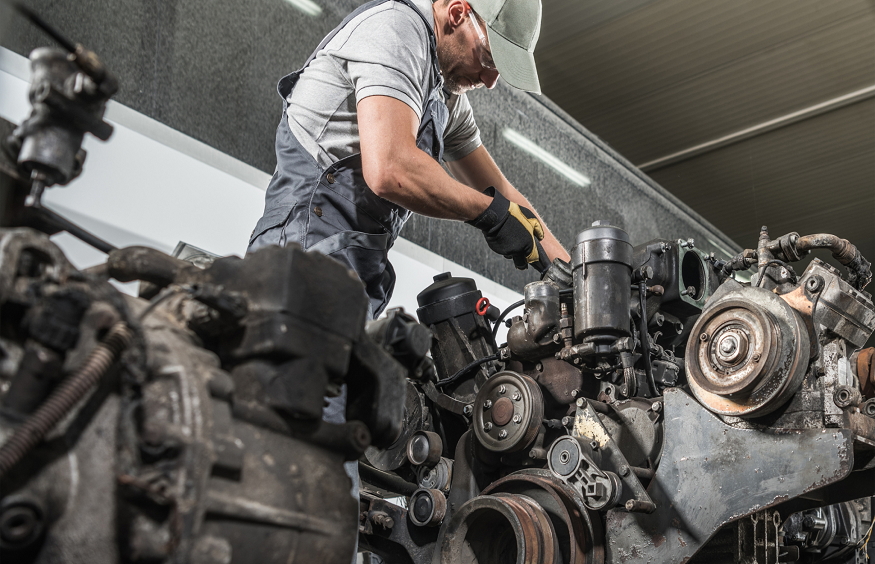
generator maintenance
Step 1: draw up a maintenance schedule and follow it
To keep your generator in perfect working order, you must follow a regular maintenance schedule . You will develop it once and for all, before starting your first interview. For gasoline and diesel groups , periodic operations are essential to guarantee their performance, their optimal fuel consumption , and above all, your safety.
Step 2: Check the oil level and drain it
The oil level is important for the reliability of your generator . Below we explain how to check and maintain the correct oil level . We also show you the oil change procedure to follow for optimal engine lubrication.
Checking and Maintaining the Proper Oil Level
- Prepare your generator : before checking the oil level , make sure your electric generator is stopped. The material must be placed on a flat surface . Wait a few minutes so that the oil has time to descend into the crankcase.
- Access the oil dipstick: Locate the oil dipstick for your unit. It is usually located near the engine and has a graduated rod.
- Remove the dipstick from the engine and wipe it clean: Proceed gently. Wipe the gauge carefully with a clean cloth. You must obtain a clean and dry surface. The measurement must be clearly visible.
- Insert the dipstick without screwing it in: Replace the oil dipstick in its location without screwing it in. Make sure it is seated correctly.
- Remove the dipstick and check the level: Remove the dipstick again and examine the oil level . The gauge is graduated, and the oil level should be between the “minimum” and “maximum” marks . If the level is near the minimum, you will need to add oil.
- Add oil if necessary: If the oil level is below the “minimum” mark, add oil to the engine using a suitable funnel. Be sure to add only the amount recommended by the manufacturer, as excess oil can also cause problems.
- Close the dipstick: Once the oil level is correct, return the dipstick to its location and make sure it is secure, but do not screw it in.
- Clean and store: Clean any excess oil or dirt around the oil dipstick, then store your tools.
It is recommended to check the oil level at least once a month to ensure your generator is running with adequate lubrication. This simple verification procedure will allow you to prevent possible mechanical problems and maintain the performance of your electricity generator . Remember to refer to the user manual for the quantity and type of oil recommended by the manufacturer.
Drain
- Preparation: before starting draining , always make sure that the generator is stopped and on a flat surface . Wait a few minutes so that the oil has time to descend into the crankcase.
- Safety: wear protective gloves to avoid direct contact with used oil. Also ensure that the engine is completely cooled . This is how you will avoid burns.
- Locate the oil drain plug: Locate it. It is located under your group’s engine, at the bottom of the engine housing.
- Place a collection container : position a collection container under the drain plug to collect the used oil as it drains .
- Loosen the drain plug : Using a pipe wrench or socket wrench, gently loosen the drain plug without removing it completely.